• Home
  • Meet The Teacher
  • Blog
  • Disclosure
  • Contact
  • Shop
    • Email
    • Facebook
    • Instagram
    • Pinterest

A Smiling Teacher

A Teaching Blog by Amber Masters

  • Freebies
  • Math
  • Reading
  • Writing
  • Classroom

Monday Made It

June 29, 2015 by Amber Masters

Hi Friends!
Happy Monday!
Unfortunately, it’s another rainy day here in Columbus. I am so over the rain, but on the bright side, I’m linking up with Tara, over at 4th Grade Frolics for her Monday Made It Linky! 
One thing I love most about summer is that I actually have the TIME to dive into some fun, crafty projects! This past week I decided to take on the “Teacher Toolkit”. I am moving into a new classroom next year and it’s not quite as big as my current room.  It’s still a good size, but I’m used to having a lot more storage. So, I figured I need to start mapping and planning out where everything will go. This project will give me easy access to all of my teacher essentials! 

I’m going to start from the beginning and share all the steps I took to create this fabulous toolkit! 
The first step was getting the materials I needed:

-tool kit
-spray paint
I got both of these at Lowes. 

You can find the tool kit here and the spray paint (Valspar/satin/nautical paint and primer) info here.
I began by taking all the drawers out and giving the frame a good wipe down. It had dust and such on it from sitting at the store. 
Next I took the frame outside and started painting.  (Don’t mind our driveway…it needs sealed…bad!)

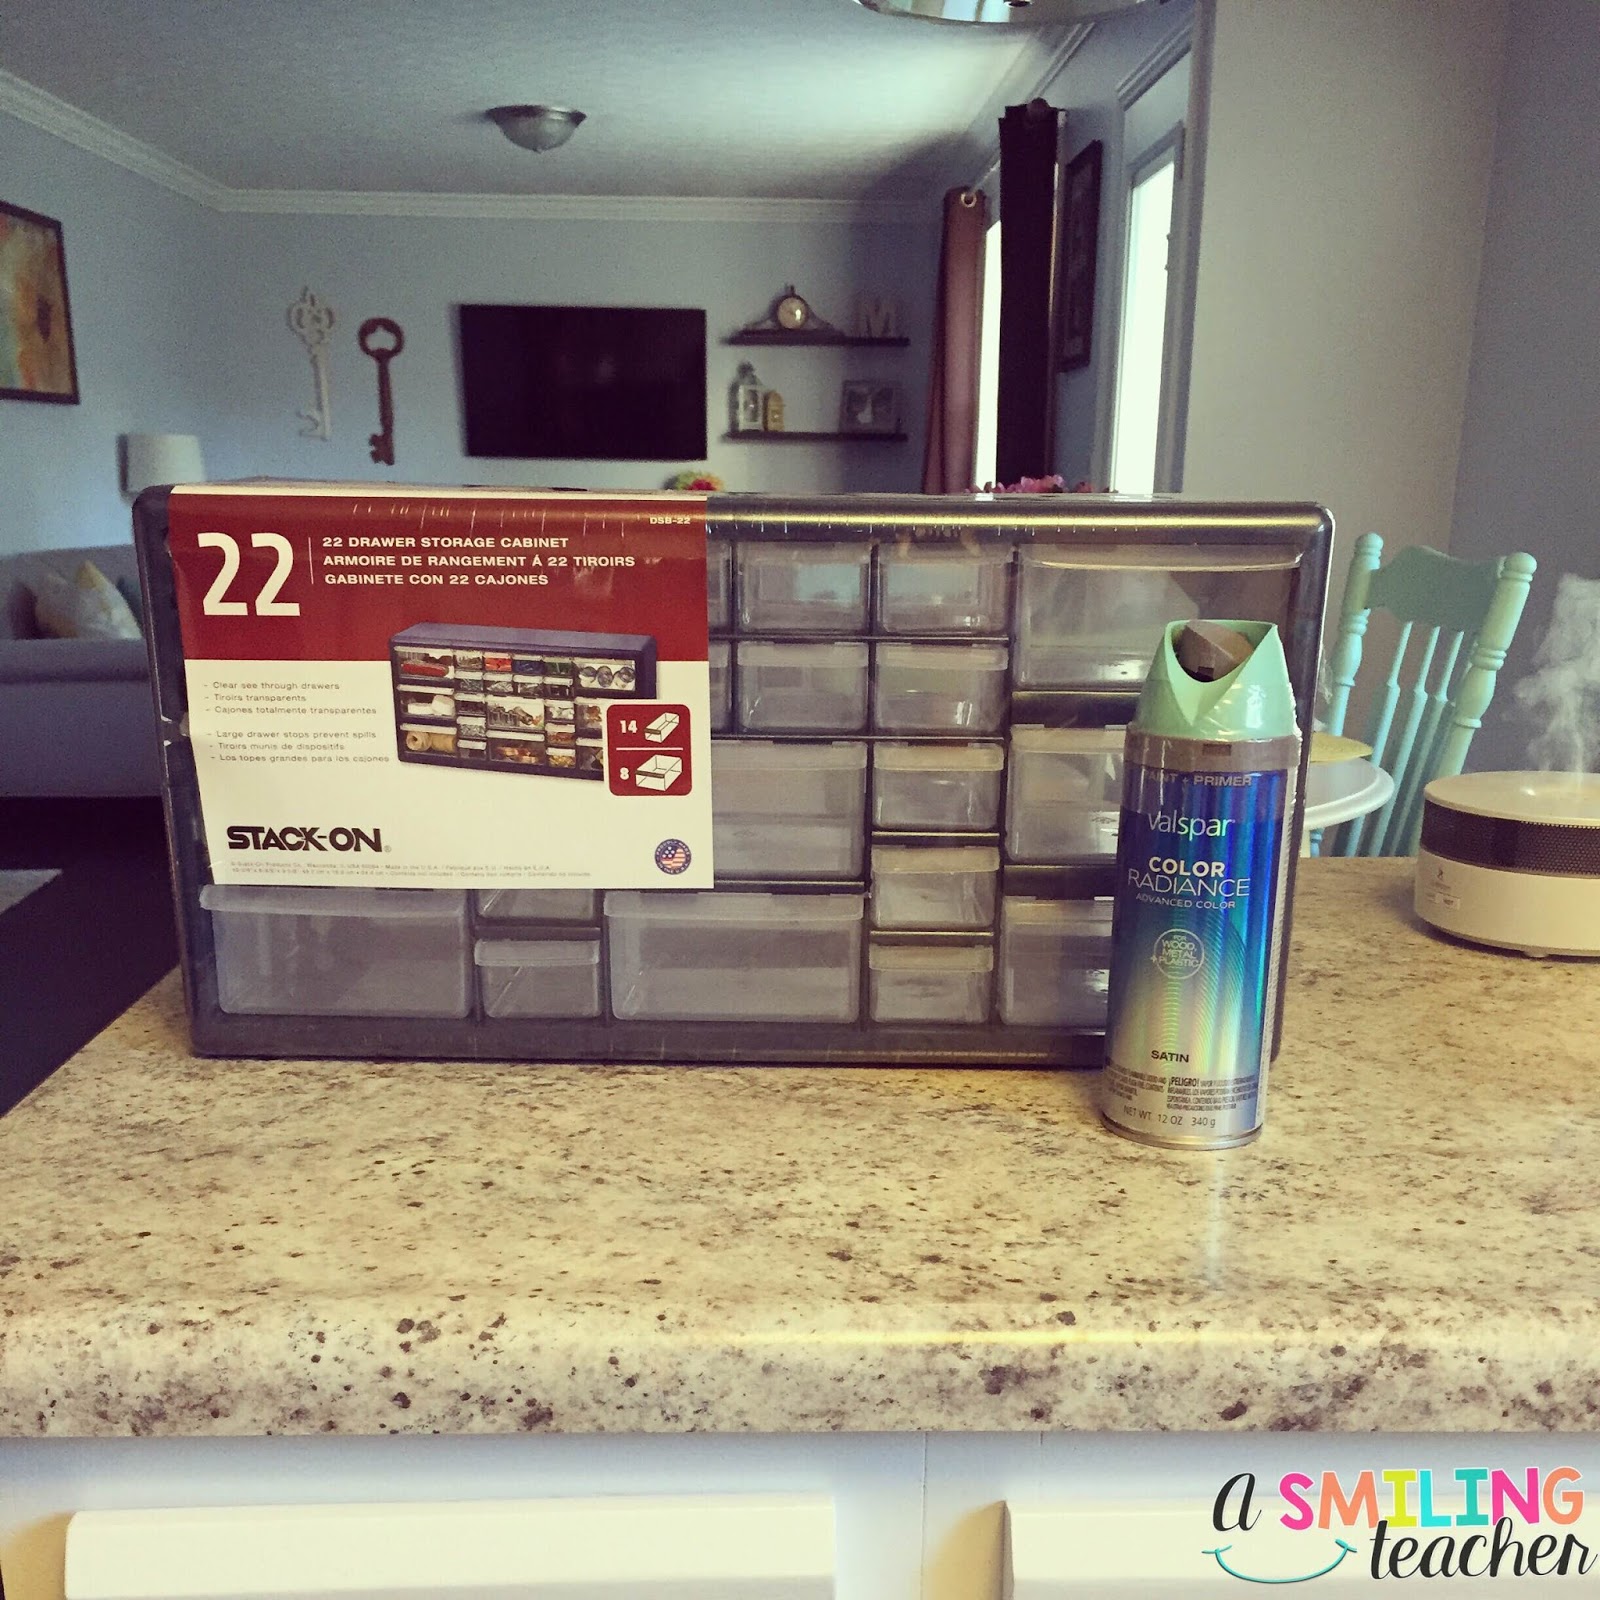
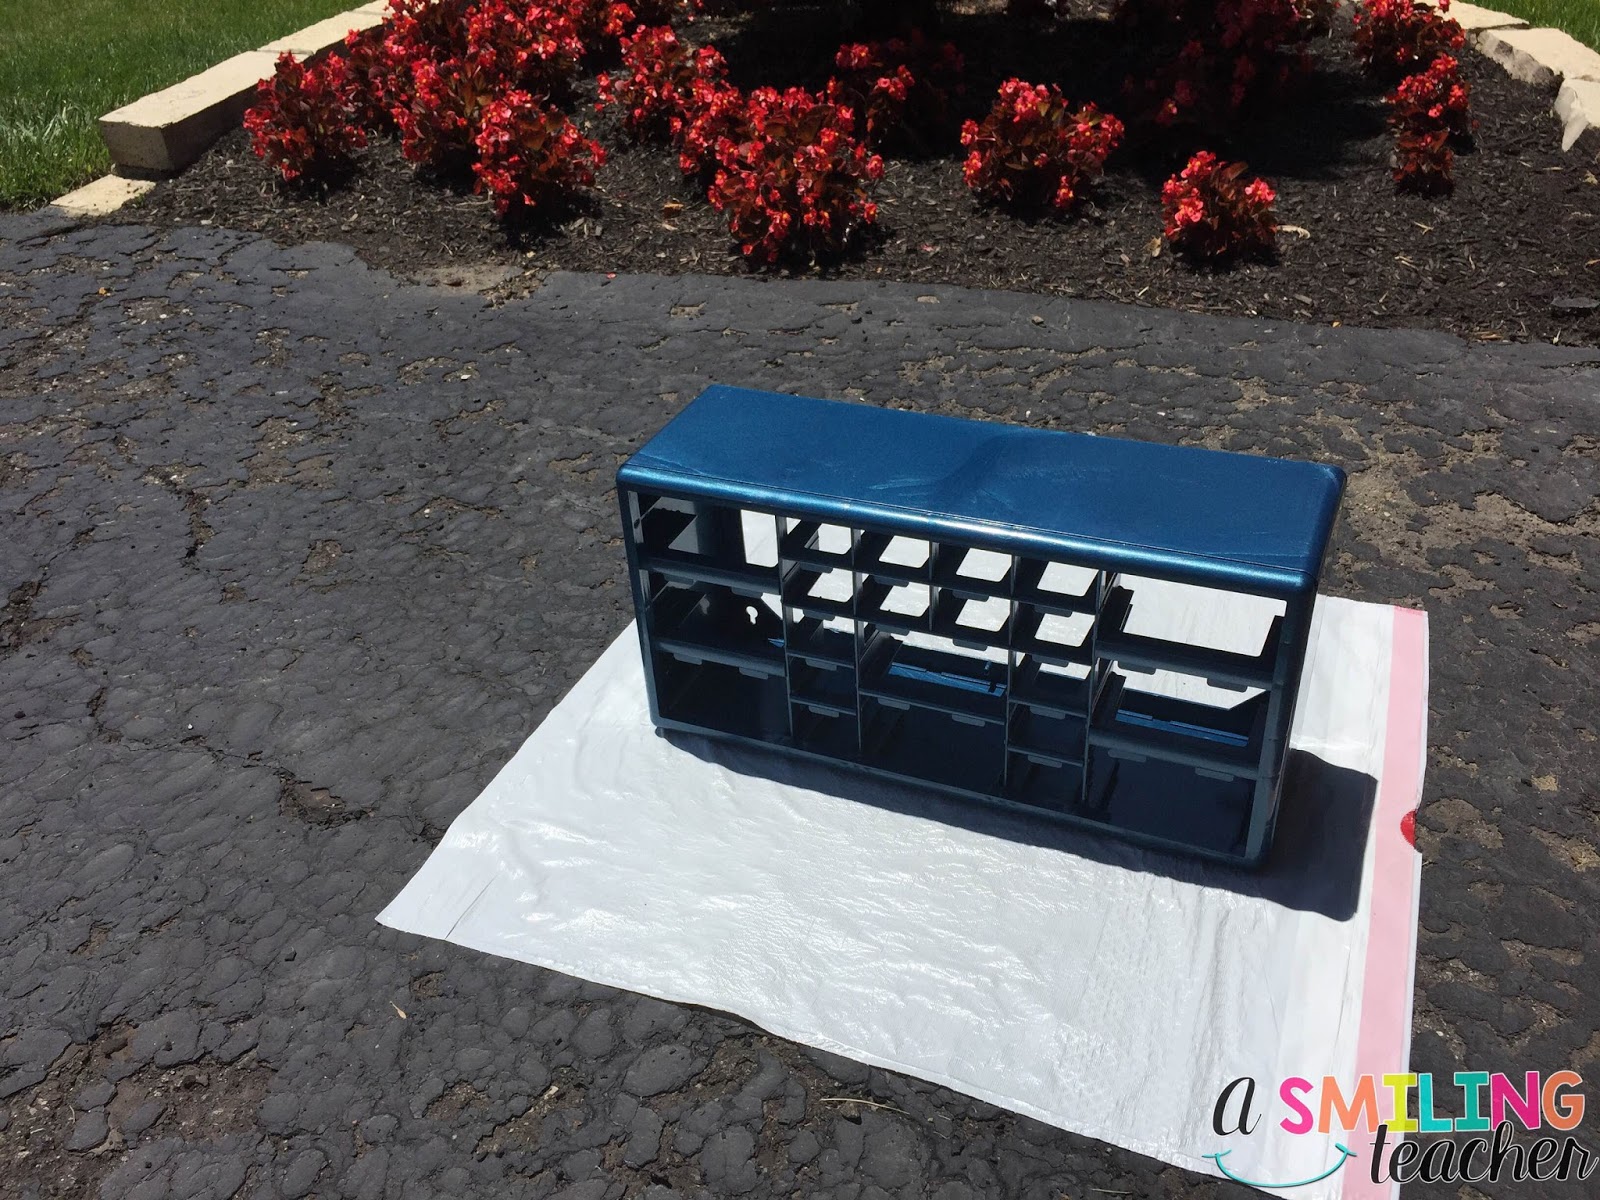
My biggest tip for spray painting is that you CANNOT be in a HURRY! Take your time and give it multiple coats. Don’t try to get the perfect color in the first coat or you’ll more than likely have drips. Let it dry completely before you begin another coat. I painted my toolkit over the course of two days. I took my time because I wanted it to look nice and have an even finish.

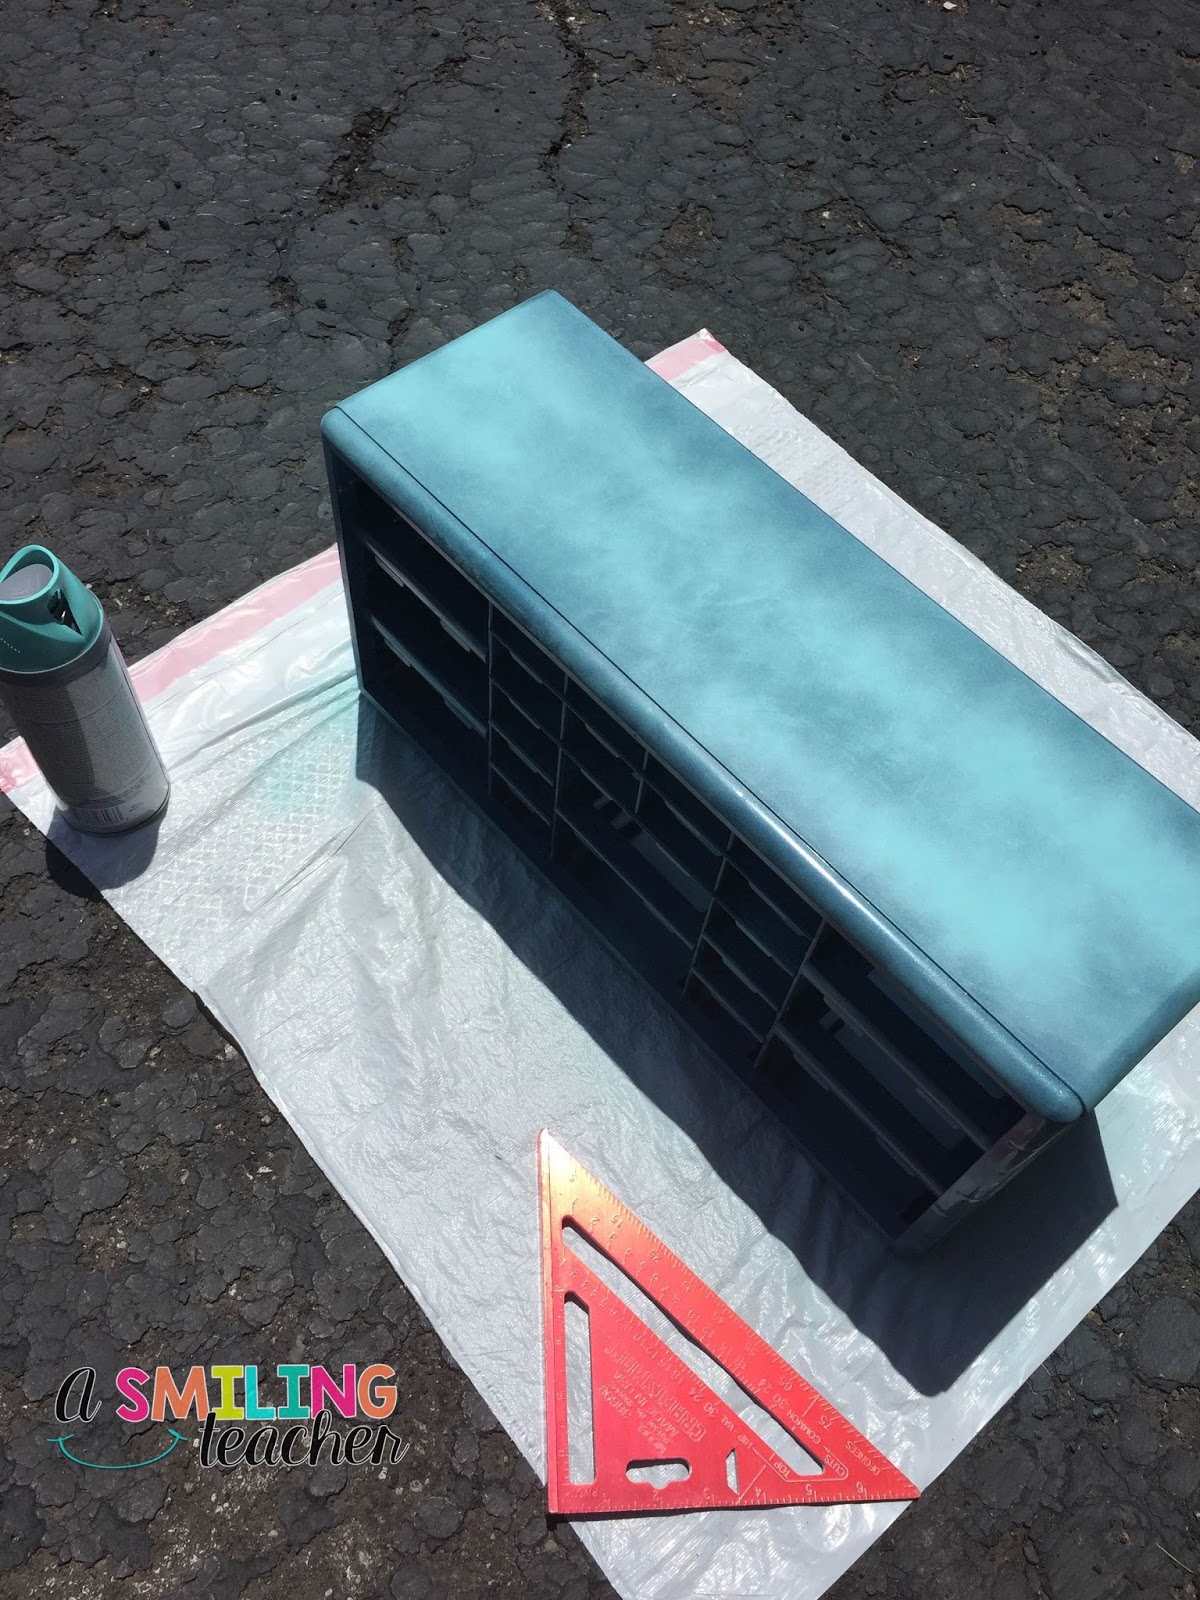
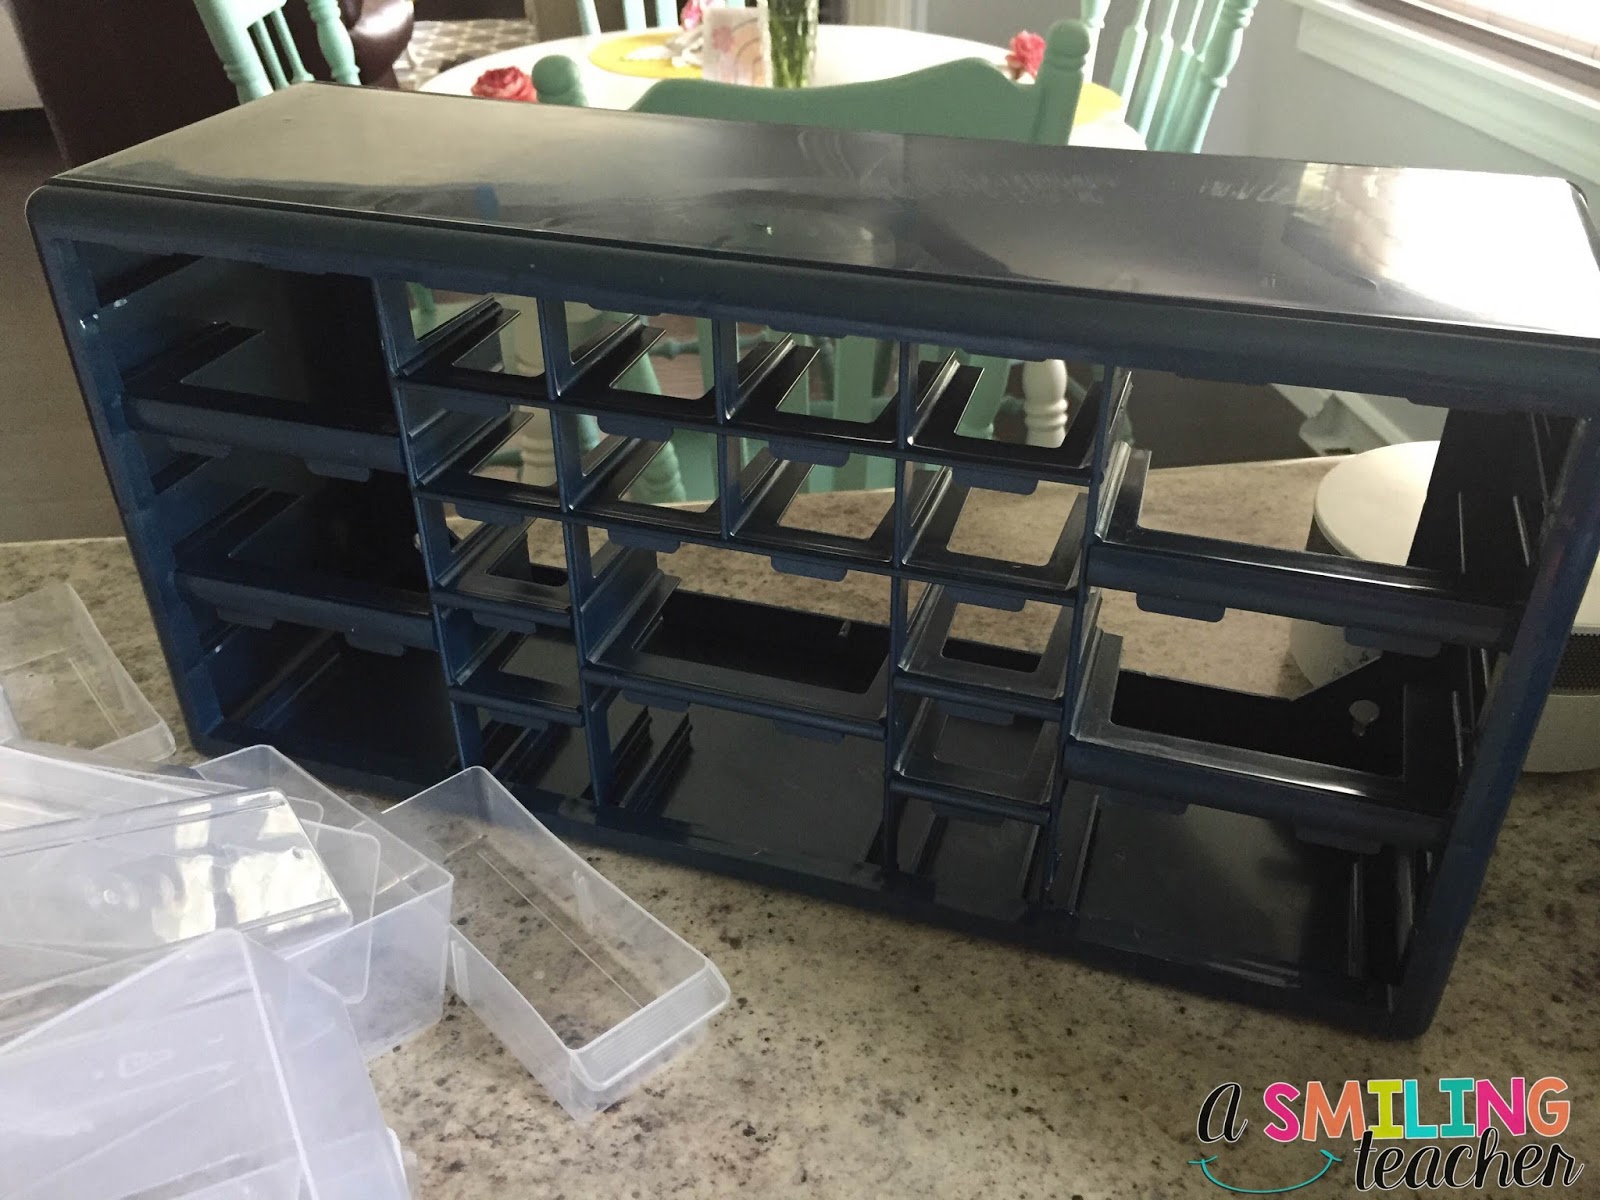
The picture above is the first coat.

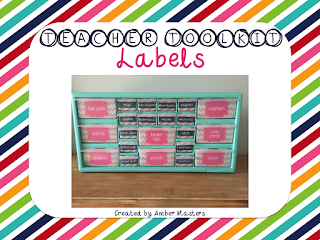
In between all of the painting, I got to work on making some cutesy labels!

I am so happy with how they turned out! You can grab them here or by clicking on the picture below!

When it was time to cut out all of my labels, it took me no time at all because I use one these!

It makes cutting a breeze. In fact, I have one for school and one for home.
#totallyworthit

Next, I just taped the labels to the inside part of the drawer. The tape runs from the back of the label to the sides of the drawer and on the bottom. Others have posted about using double sided tape too so that is an option as well.

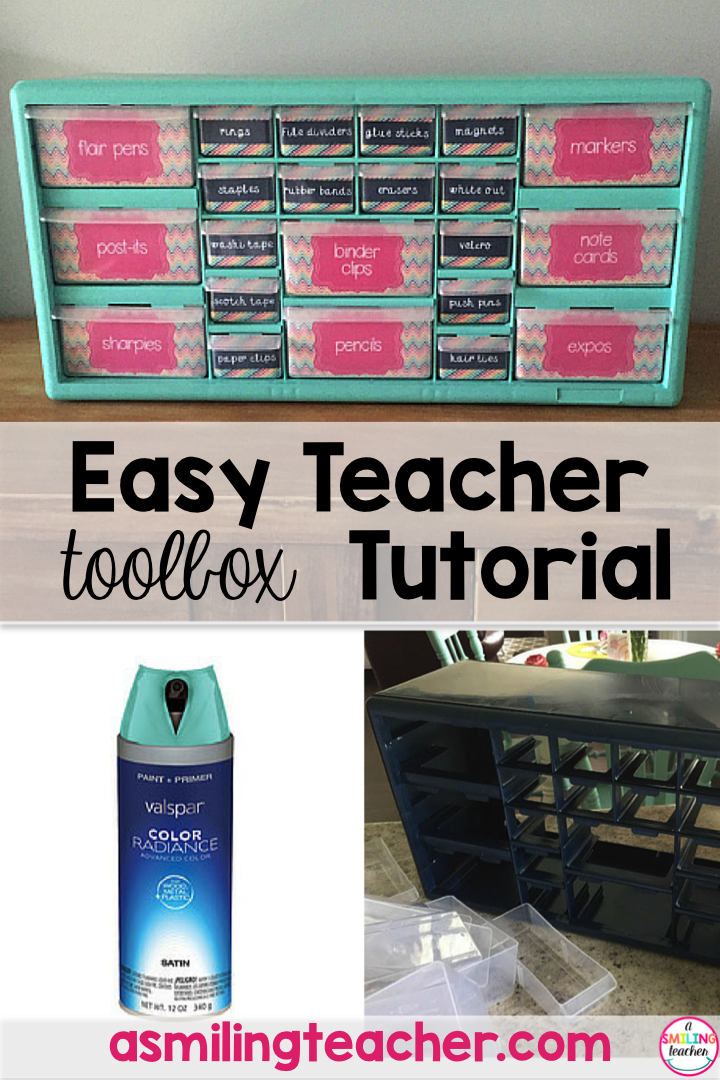
And that’s it! Here is my final product!

What do you think?! Give it a try!!
I’m so excited to fill mine up with school supplies! 🙂
Have a fabulous week!

384 Shares

Filed Under: monday made it, organization, teacher supplies, teacher tool kit

« Writing in the Early Childhood Classroom
Well Hello There Turkeys! »

Stay Connected

  • Email
  • Facebook
  • Instagram
  • Pinterest

Subscribe the the Newsletter

Popular Posts

  • Pumping During the School Year
    Pumping During the School Year
  • Back to School Lunch Ideas
    Back to School Lunch Ideas
  • Building your Classroom on a Budget
    Building your Classroom on a Budget
  • My Scribble
    My Scribble
  • Number Path Freebie
    Number Path Freebie
  • Fostering Curiosity with Mystery Doug
    Fostering Curiosity with Mystery Doug

Best Selling Resources

Find Me on Pinterest

Follow @asmilingteacher

I just love watching her play and explore! She’s I just love watching her play and explore! She’s been loving the new @lovevery Music Set! These bells are one of her favorites!! #loveveryMelody #loveverygift
🍎 There’s nothing quite like the excitement o 🍎 There’s nothing quite like the excitement of the First Day of School!  We actually get to do it all again tomorrow for the second half of our kindergarten phase in. We had a great day, and I’m so exhausted! 🙃 Wishing everyone a wonderful school year! 💓
I am humbled and grateful to have had the opportun I am humbled and grateful to have had the opportunity to visit St. Jude Children’s Hospital campus this week for the second time. Each experience has brought a range of emotions, and a desire to do more. 

Noticing families out and about on campus, and knowing they’re going through what no family should ever have to go through, is nothing short of gut wrenching. Yet, you also see strength, bravery, and perseverance, as children and families continue forward in their journeys. 

There’s also an overwhelming sense of community, family, and hope. Hearing from former patients and their families, ignites a fire in you to spread awareness, and join the fight in ending childhood cancer. St. Jude promises not to stop until no child dies from cancer. 

Each staff member I’ve encountered at St. Jude is invested in the mission, and is an incredible human being. I’m grateful for their passion to serve others, their wealth of knowledge, and their willingness to share the amazing work that’s being done at St. Jude. 

Together, we will make a difference. ❤️ If you’d like to support St. Jude, but aren’t sure where to start or how to get involved, send me a DM and I can share some ideas!
It’s been a special Winter Break for our family! It’s been a special Winter Break for our family! 💗 2022 - the year we bought land!
Merry Christmas from Ella and her parents! 🥰🎄

📸 @caitrosephotography
Being her mama is my favorite! 🥰 Her smile is i Being her mama is my favorite! 🥰 Her smile is infectious, and she’s so full of joy! Sometimes I can’t believe she’s ours. ❤️ 

📸 @caitrosephotography
🥰 🏈 Making all of my matching Mommy /Daughte 🥰 🏈 Making all of my matching Mommy /Daughter outfit dreams come true! #BuckeyeForLife #ohiostatefootball
We had so much fun visiting @groovyplantsranch tod We had so much fun visiting @groovyplantsranch today and are officially ready for fall 🍁… even if Ohio isn’t! 🙃

Copyright © 2025 Disclosure // Design by Laugh Eat Learn // Theme by Restored 316